


Blog Categories
- Appliances Four
- Athletic Seating
- Auto Helpers
- Automated Stock Rooms
- Chocolate Four
- CuraFlo
- Damaged Goods Dating
- Flood Insurance Four
- Game Addict
- Hi Tech Pest Control
- HVAC Four
- Medical Labels Four
- Mental Health Four
- National CWS
- Promotional Ideas
- Seguros Lara Insurance
- Stem Cell Worx
- The Hidden Truth
- The Last Refuge
- The Mozilla Blog
- Video Editing Four
- Web Design Dev
- Website Development Four
- Windows Blog
Step by Step Guide to Installing a Kitchen Faucet
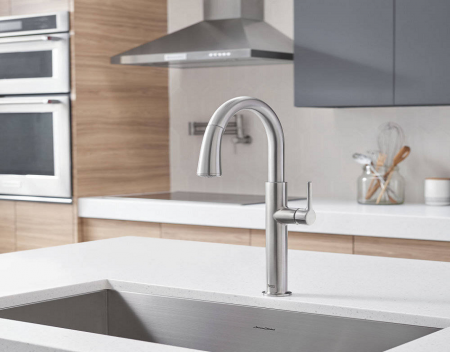
Installing a new kitchen faucet is an easy and affordable way to reinvigorate your space. With a few common tools, you can easily install or replace your existing faucet without worry or hassle.
Before getting started, you’ll need the right tools to successfully install your brand new kitchen faucet:
- Flat-head screwdriver.
- Phillips-head screwdriver.
- Adjustable wrench.
- Pipe wrench.
- Plumbers’ putty or caulking (optional).
- Bucket (optional).
- Old rags/towels (optional).
- Flashlight (optional).
- Tape measure (optional).
STEP 1
First, you’ll need to turn off the water supply. You must then make sure that the seal is properly seated in the recess of the spout base. Follow through by inserting all hoses and shank through the mounting ring and mounting surface. You should refrain from using putty for this step.
STEP 2
Next, you will feed the hoses through the rubber washer, brass washer, and threaded locknut onto the shank from underside the sink or mounting surface. You must then tighten the locknut, and use a screwdriver to tighten the screws located on the locknut. Then, you will work your way around the locknut, tightening the screws slightly until all are snug. This will ensure even pressure, and may impact the faucet’s performance if completed incorrectly.
STEP 3
When you have successfully completed the first two steps, you will then connect the flexible supply hoses directly to the wall supplies. First, you will connect the blue nylon braided supply hose to the hot wall supply, and then the red nylon braided supply hose to the cold water supply. You must use an adjustable wrench to carefully tighten the connections, being mindful of potential overtightening.
STEP 4
Finally, you will need to push the spray hose end into the hose connector, and slide down the locking collar until it snaps into place. With the hand spray seated in the spout, install the weight, and then secure it in place with a screwdriver.
STEP 5
You may then turn the water supply back on, and begin enjoying your brand new kitchen faucet.
Source: Re-posted and Summarized from americanstandard.ca.
Re Posted From: Step by Step Guide to Installing a Kitchen Faucet